Homeowners often think that the only time they will need to inspect a property is if they intend purchasing it. However, this can result in costly repairs being needed over time – when a simple inspection would most likely have prevented this (the old saying, “A stitch in time saves nine,” comes to mind here). Below are helpful tips that will show how you can perform your own basic home inspection. This post is part one of a two part series.
Outside your Home
Most issues will be on the outside of a home, which is why you should start your DIY inspection there. It is recommended that you use a pair of binoculars to check your roof, higher sections of walls and chimneys (if applicable). It is recommended that you leave climbing on to the roof for the professionals though.
- Gutters and Downspouts
Look for clogged gutters, cracks or other damaged sections, as these will cause water to run along walls and right into foundations. If grass or weeds are growing from gutters, it’s recommended that they be cleaned out.
- Chimneys
Check for anything that may be clogging the opening such as leaves or bird nests. Inspect mortar and bricks to ensure it’s intact – there should be no cracks or damaged bricks.
- Roof
Ensure there are no missing or broken tiles or shingles. If any large branches are resting against the roof, it’s time to have them professionally trimmed before they cause damage. They also provide easy access for rodents and other pests to access your home.
- Foundations
The grade around your home’s foundation should be at least 20 centimetres below the cladding and it should also slope away from the building. This helps prevent insects from accessing the cladding. If any hairline cracks are present, photos should be taken to keep record of their size. However, if larger cracks have presented themselves, a professional should be called to inspect them.
- Garage and Driveway
Cracked or loose cement, paving or asphalt can not only present a tripping hazard; when water gets into these cracks, it will cause the rest of the surface to loosen and lift over time as well.
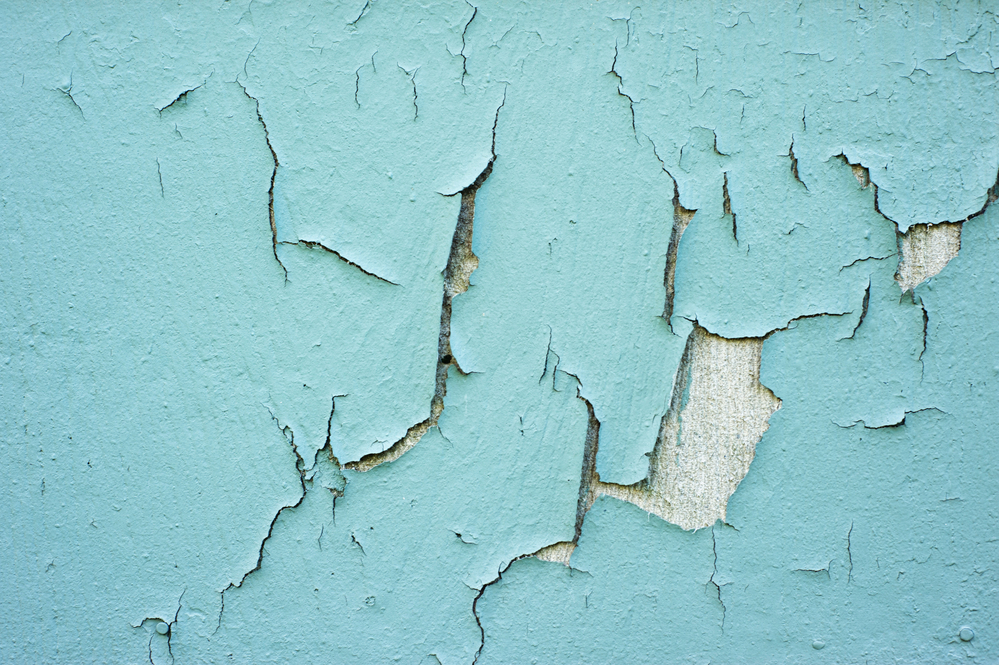
- Paint
Look for paint that’s peeling, as this can indicate that moisture has been penetrating the affected wall. Paint that has flaked or cracked usually point towards an adhesion problem, meaning that cladding may require repair or replacement.
- Steps, Decks and Porch Areas
When inspecting these, it’s essential to check above and below the surface. Look for missing screws and boards that may be broken or cracked. Check carefully for signs of termite damage such as tunnels bored into the wood.
- Windows
Check for caulk that has rotted, flaked or peeled off, as this provides an ideal way for water to get into your home.
While it is recommended that homeowners perform inspections like these themselves on an annual basis, it is crucial to keep in mind that a DIY home inspection should never be relied on as an actual home inspection report or as a substitute for one. If you would like to find out more about having a professional home inspection performed, contact our team to schedule an appointment today.